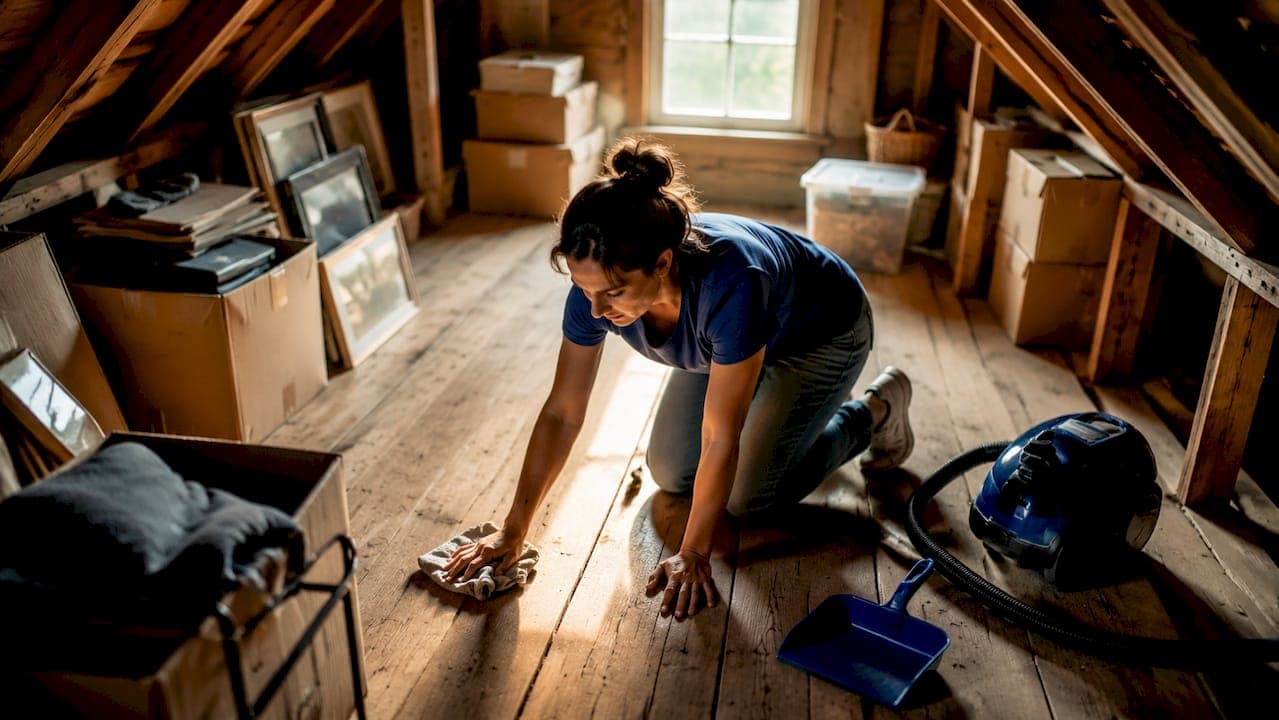
A pest inspection is a licensed professional's systematic examination of your home to identify active infestations, structural vulnerabilities, and conditions that attract pests. Knowing how to prepare your home for a pest inspection is the difference between a thorough, accurate assessment and a visit that misses half the problem. Inspectors focus on crawl spaces, baseboards, attics, kitchens, and utility areas. Clearing access to those spots and addressing moisture and clutter before the technician arrives directly improves both inspection accuracy and treatment success. This guide walks you through every step, from interior prep to exterior maintenance, so you get the most out of your inspection day.
What tools and supplies do you need to prepare for a pest inspection?
The right supplies make preparation faster and more thorough. Gather these before you start:
Cleaning supplies:
- Vacuum cleaner with a crevice attachment for baseboards and corners
- Mop and bucket for kitchen and bathroom floors
- All-purpose cleaning solution for wiping cabinet interiors and under-sink areas
- Trash bags for removing debris and clutter
Organizational and access tools:
- Storage bins to consolidate and move items away from walls
- Work gloves for handling debris in attics and crawl spaces
- A stepladder for attic hatch access
- A flashlight or headlamp for dark utility spaces
Pet and food safety items:
- Pet carriers or crates to secure animals during the inspection
- Sealed containers for pet food and open pantry items
Pro Tip: Ask your pest control provider in advance about any specific product safety data sheets for planned treatments. Knowing what chemicals may be used lets you prepare your household accordingly and ask informed questions on inspection day.
Preparation is best done 1–2 days before the inspection, not the morning of. That gives you time to clean, dry surfaces, and address any moisture issues before the technician arrives.
How do you prepare interior spaces for a pest inspection?
Interior preparation is the most time-intensive part of getting ready. Work through each area methodically.
-
Clear baseboards and walls. Move furniture at least 2–3 inches from walls throughout the home. Pulling furniture away from walls gives technicians direct access to baseboard travel paths where ants, cockroaches, and rodents move most frequently.
-
Deep clean the kitchen. Wipe down all surfaces, remove food debris from counters and cabinet interiors, and empty the area under the sink completely. Grease buildup and food residue are primary attractants for cockroaches and ants.
-
Organize under sinks and cabinets. Remove all stored items from under bathroom and kitchen sinks. Inspectors check these areas for moisture damage, droppings, and gnaw marks. A cluttered cabinet hides exactly what they need to see.
-
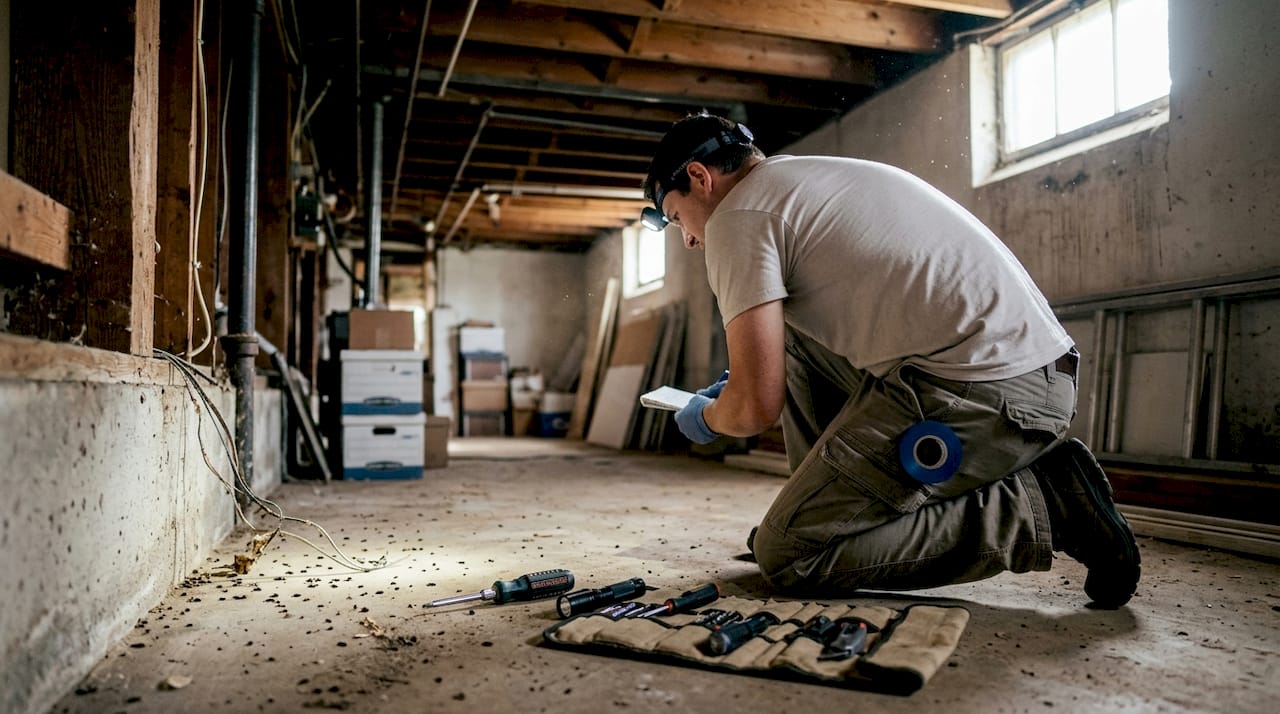
Clear attic and crawl space pathways. Move boxes, insulation bags, and stored items away from the attic hatch and crawl space entry. Inspectors need to physically enter or visually scan these spaces for mud tubes, rodent nests, and moisture damage.
-
Fix leaks and address moisture. Repair dripping faucets and check for standing water under sinks or around appliances. Pests are strongly attracted to water sources, and active leaks signal harborage conditions that will show up in the inspection report.
-
Remove pet food and secure animals. Clear pet dishes and store food in sealed containers. Place pets in carriers or a secured room. This protects animals from any treatment products and removes distractions that slow the inspection.
-
Declutter storage areas. Basements, garages, and closets with stacked cardboard or organic debris are prime pest harborage zones. Consolidate items into sealed plastic bins and move them away from walls.
Pro Tip: Take photos of any pest evidence you have noticed before the inspection, such as droppings, chewed wires, or damaged wood. Sharing these with the inspector at the start of the visit helps them prioritize the right areas immediately.
What exterior preparations should homeowners make before a pest inspection?
The outside of your home is where most pest problems begin. A well-prepared exterior gives inspectors clear access and reduces active pest pressure before treatment even starts.
- Trim vegetation. Hedges and plants should be cut back at least 12 inches from all exterior walls. Overgrown shrubs create sheltered pathways for ants, termites, and rodents to reach your foundation.
- Remove debris near the foundation. Clear woodpiles, leaf litter, mulch buildup, and stored lumber from the perimeter. These materials hold moisture and provide nesting sites for termites and rodents.
- Seal visible gaps and cracks. Check siding, the foundation, door frames, and vent covers for openings. Sealing entry points around pipes, vents, and doors prevents pest entry and makes the inspector's findings more actionable.
- Check garage doors. Confirm the bottom seal on your garage door makes full contact with the floor. Remove cardboard boxes and organic debris stored on the garage floor.
- Eliminate standing water. Fix drainage issues, empty bird baths, and clear clogged gutters. Mosquitoes breed in as little as a bottle cap of standing water, and moisture draws termites to wood near the foundation.
- Secure outdoor pets. If you have dogs or cats that spend time outside, arrange containment away from the inspection perimeter so the technician can work without interruption.
Here is a quick comparison of prepared versus unprepared exterior conditions:
| Exterior condition | Prepared | Unprepared |
|---|---|---|
| Vegetation clearance | 12+ inches from walls | Shrubs touching siding |
| Foundation gaps | Sealed | Open cracks and gaps |
| Debris near home | Removed | Woodpiles and leaf litter present |
| Standing water | Eliminated | Puddles and clogged gutters |
| Garage door seal | Full contact | Gaps at floor level |
What can homeowners expect during the pest inspection process?
A licensed pest inspection, sometimes called a Wood Destroying Organism (WDO) inspection in termite-prone regions, follows a structured process. Understanding it helps you interact with the inspector effectively and get more from the visit.
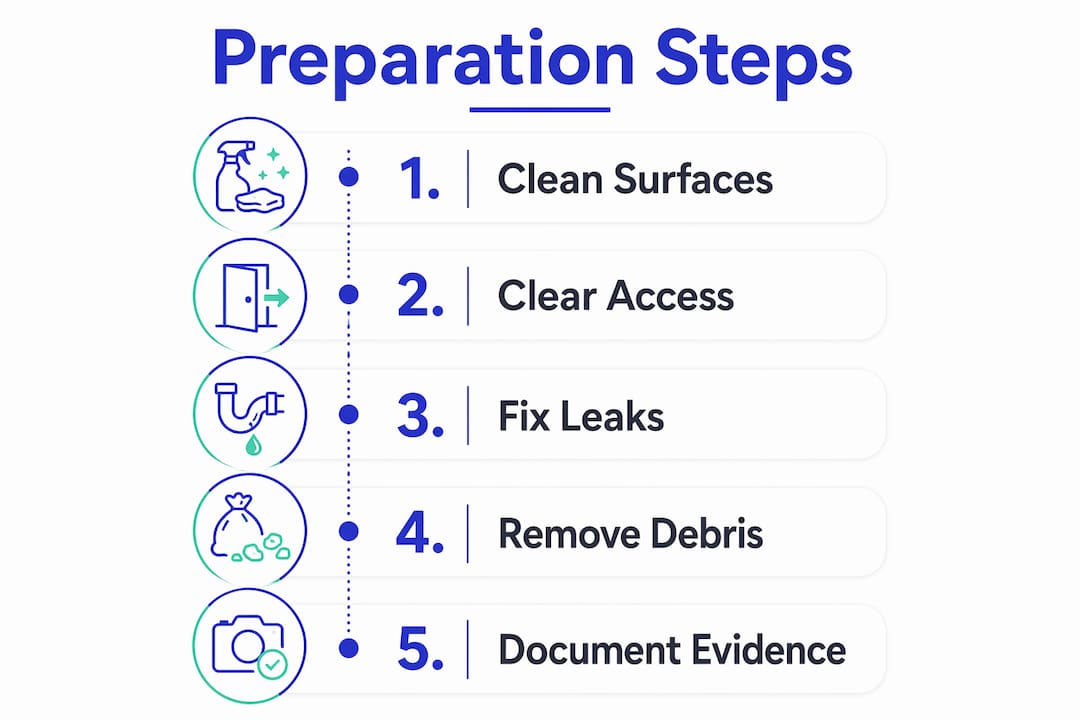
The inspector will check all major pest hotspots for physical evidence. Inspectors look for mud tubes along foundation walls, droppings near baseboards, gnaw marks on wood and wiring, and moisture readings in crawl spaces and attics. These are signs that general home inspectors often miss.
Your role during the visit is to provide access and answer questions honestly. Have the following ready:
- Keys or codes for locked utility rooms, attic hatches, and crawl space entries
- Any termite treatment history, warranties, or prior inspection reports
- A list of pest sightings you have noticed, including location and frequency
- Questions about treatment methods, product safety, and follow-up scheduling
"Home buyers should ask sellers for termite treatment records and inspect attics and basements for pest signs before closing." — pest inspection guidance
After the inspection, ask specifically about re-entry intervals (REIs). REIs after treatments are mandatory wait times based on product toxicity, and they are especially critical for households with children and pets. Get the specific interval in writing before the technician leaves.
What are the most common mistakes homeowners make before a pest inspection?
Most preparation failures come down to access and communication. Avoiding these mistakes protects your time and the quality of the inspection.
- Leaving clutter against walls and in corners. Stacked boxes and piled items create hidden harborage that inspectors cannot safely or fully examine. Preparation failures like this lead to reduced treatment effectiveness and repeated visits.
- Ignoring moisture problems. A dripping pipe under the sink or a damp crawl space is not just a plumbing issue. Moisture is one of the strongest pest attractants, and leaving it unaddressed skews the inspection findings.
- Leaving pet food and open food accessible. Food left out during an inspection contaminates the environment and attracts pests to treated areas after the technician leaves.
- Blocking attic or crawl space access. If the inspector cannot physically enter or clearly view these spaces, critical evidence of termite damage or rodent nesting goes undetected.
- Skipping the conversation about treatment plans. Not asking about product types, application methods, and safety precautions leaves your household unprepared for post-treatment protocols.
- Ignoring post-inspection instructions. The inspection report and treatment plan are only useful if you follow through. Skipping aftercare steps, like sealing entry points or scheduling follow-up treatments, allows infestations to return.
Pro Tip: A dedicated pest inspection separate from a general home inspection reveals hidden pest damage that standard inspectors miss. If you are buying a home, always request a separate WDO inspection, especially in termite-prone states like Florida, Texas, and Georgia.
Key takeaways
Thorough preparation for a pest inspection requires clearing interior access, fixing moisture issues, trimming exterior vegetation, and communicating openly with your inspector before and after the visit.
| Point | Details |
|---|---|
| Start preparation 1–2 days early | Clean, dry surfaces, and clear access points before the technician arrives. |
| Move furniture away from walls | Pull furniture 2–3 inches from walls to expose baseboard travel paths. |
| Trim vegetation 12 inches back | Cut shrubs and plants away from exterior walls to reduce pest harborage. |
| Ask about re-entry intervals | Get mandatory post-treatment wait times in writing, especially for homes with children and pets. |
| Request a dedicated WDO inspection | A specialized pest inspection catches hidden termite and rodent damage that general inspectors miss. |
What I have learned from watching homeowners prepare for inspections
Most homeowners underestimate how much the preparation phase shapes the inspection outcome. I have seen technicians spend half their visit moving furniture and clearing debris that should have been done the day before. That time comes directly out of the inspection itself.
The single most overlooked step is moisture. Homeowners patch visible cracks and clean counters, but they leave a slow drip under the bathroom sink untouched. Termites and cockroaches do not care about clean counters. They follow water. Fixing that leak before the inspector arrives changes what the report says and what the treatment plan costs.
I also think homeowners miss the value of documenting their own pest history. Keeping a simple log of where and when you spot pest activity, whether that is a mouse dropping in the pantry in october or ants along the kitchen baseboard in spring, gives the inspector a roadmap. It shortens the inspection and sharpens the treatment plan.
Finally, do not treat the inspector as a stranger doing a task. Ask questions. Ask what they found, what it means, and what you should do between now and the follow-up visit. The inspectors who work with engaged homeowners consistently deliver better outcomes. You are not just a bystander in this process.
— Mohthshim
Professional pest inspection support from Homefixnow
Preparing your home is the first step. Getting a licensed technician to conduct the actual inspection is what turns preparation into results.

Homefixnow provides licensed pest inspections and targeted treatment plans for homeowners across the region. The team checks all the critical areas, from crawl spaces and attics to exterior entry points and moisture zones, and delivers a clear report with specific next steps. Whether you are dealing with termites, rodents, cockroaches, or bed bugs, Homefixnow's professional pest control services are backed by a satisfaction guarantee. If pests return between treatments, so does the team. Schedule your inspection today and get a free estimate with no hidden fees.
FAQ
How far in advance should I prepare for a pest inspection?
Start preparation 1–2 days before the inspection. This gives you time to clean surfaces, clear access points, fix leaks, and let areas dry before the technician arrives.
Do I need to leave my home during a pest inspection?
You do not need to leave during the inspection itself. However, if treatment follows immediately, you must follow the re-entry interval specified on the product label, which varies by product and application method.
What do pest inspectors look for in a home?
Inspectors check for mud tubes, droppings, gnaw marks, moisture damage, and pest entry points in areas like crawl spaces, attics, baseboards, and under sinks.
Should I get a separate pest inspection when buying a home?
A dedicated WDO inspection is strongly recommended, especially in termite-prone regions. General home inspectors often miss hidden pest damage that a licensed pest professional will catch.
Is it safe to have pets at home during a pest inspection?
Secure pets in carriers or a separate room during the inspection. If treatment is applied, follow the re-entry interval guidelines to keep pets and children safe from chemical exposure.